
Orbit Standard
Pearlexa Orbit Setup Guide: Connect Your Smart Bulb
A straightforward first-time setup path for Orbit Standard, written for customers rather than engineers.
Quick setup
Follow these steps in order
Install the bulb safely
Switch off power at the wall, install Orbit in a compatible E27 fitting within the product's published electrical rating, then restore power.
Open the Pearlexa app
Sign in to your Pearlexa account and start the Add Device flow. Keep your phone close to the bulb during provisioning.
Put Orbit into configuration mode
Follow the in-app instructions for entering configuration mode. The bulb will indicate that it is ready for setup. Use the current app instructions rather than relying on an old setup sequence from third-party websites.
Choose your Wi-Fi network
Select the 2.4GHz Wi-Fi network you want Orbit to use and enter the correct password. If your router uses a combined SSID for 2.4GHz and 5GHz, the router should still allow compatible 2.4GHz clients to join.
Wait for secure provisioning to finish
Keep the app open and avoid switching power off while credentials and device ownership are being confirmed. The app will show progress through the setup stages.
Name and test the device
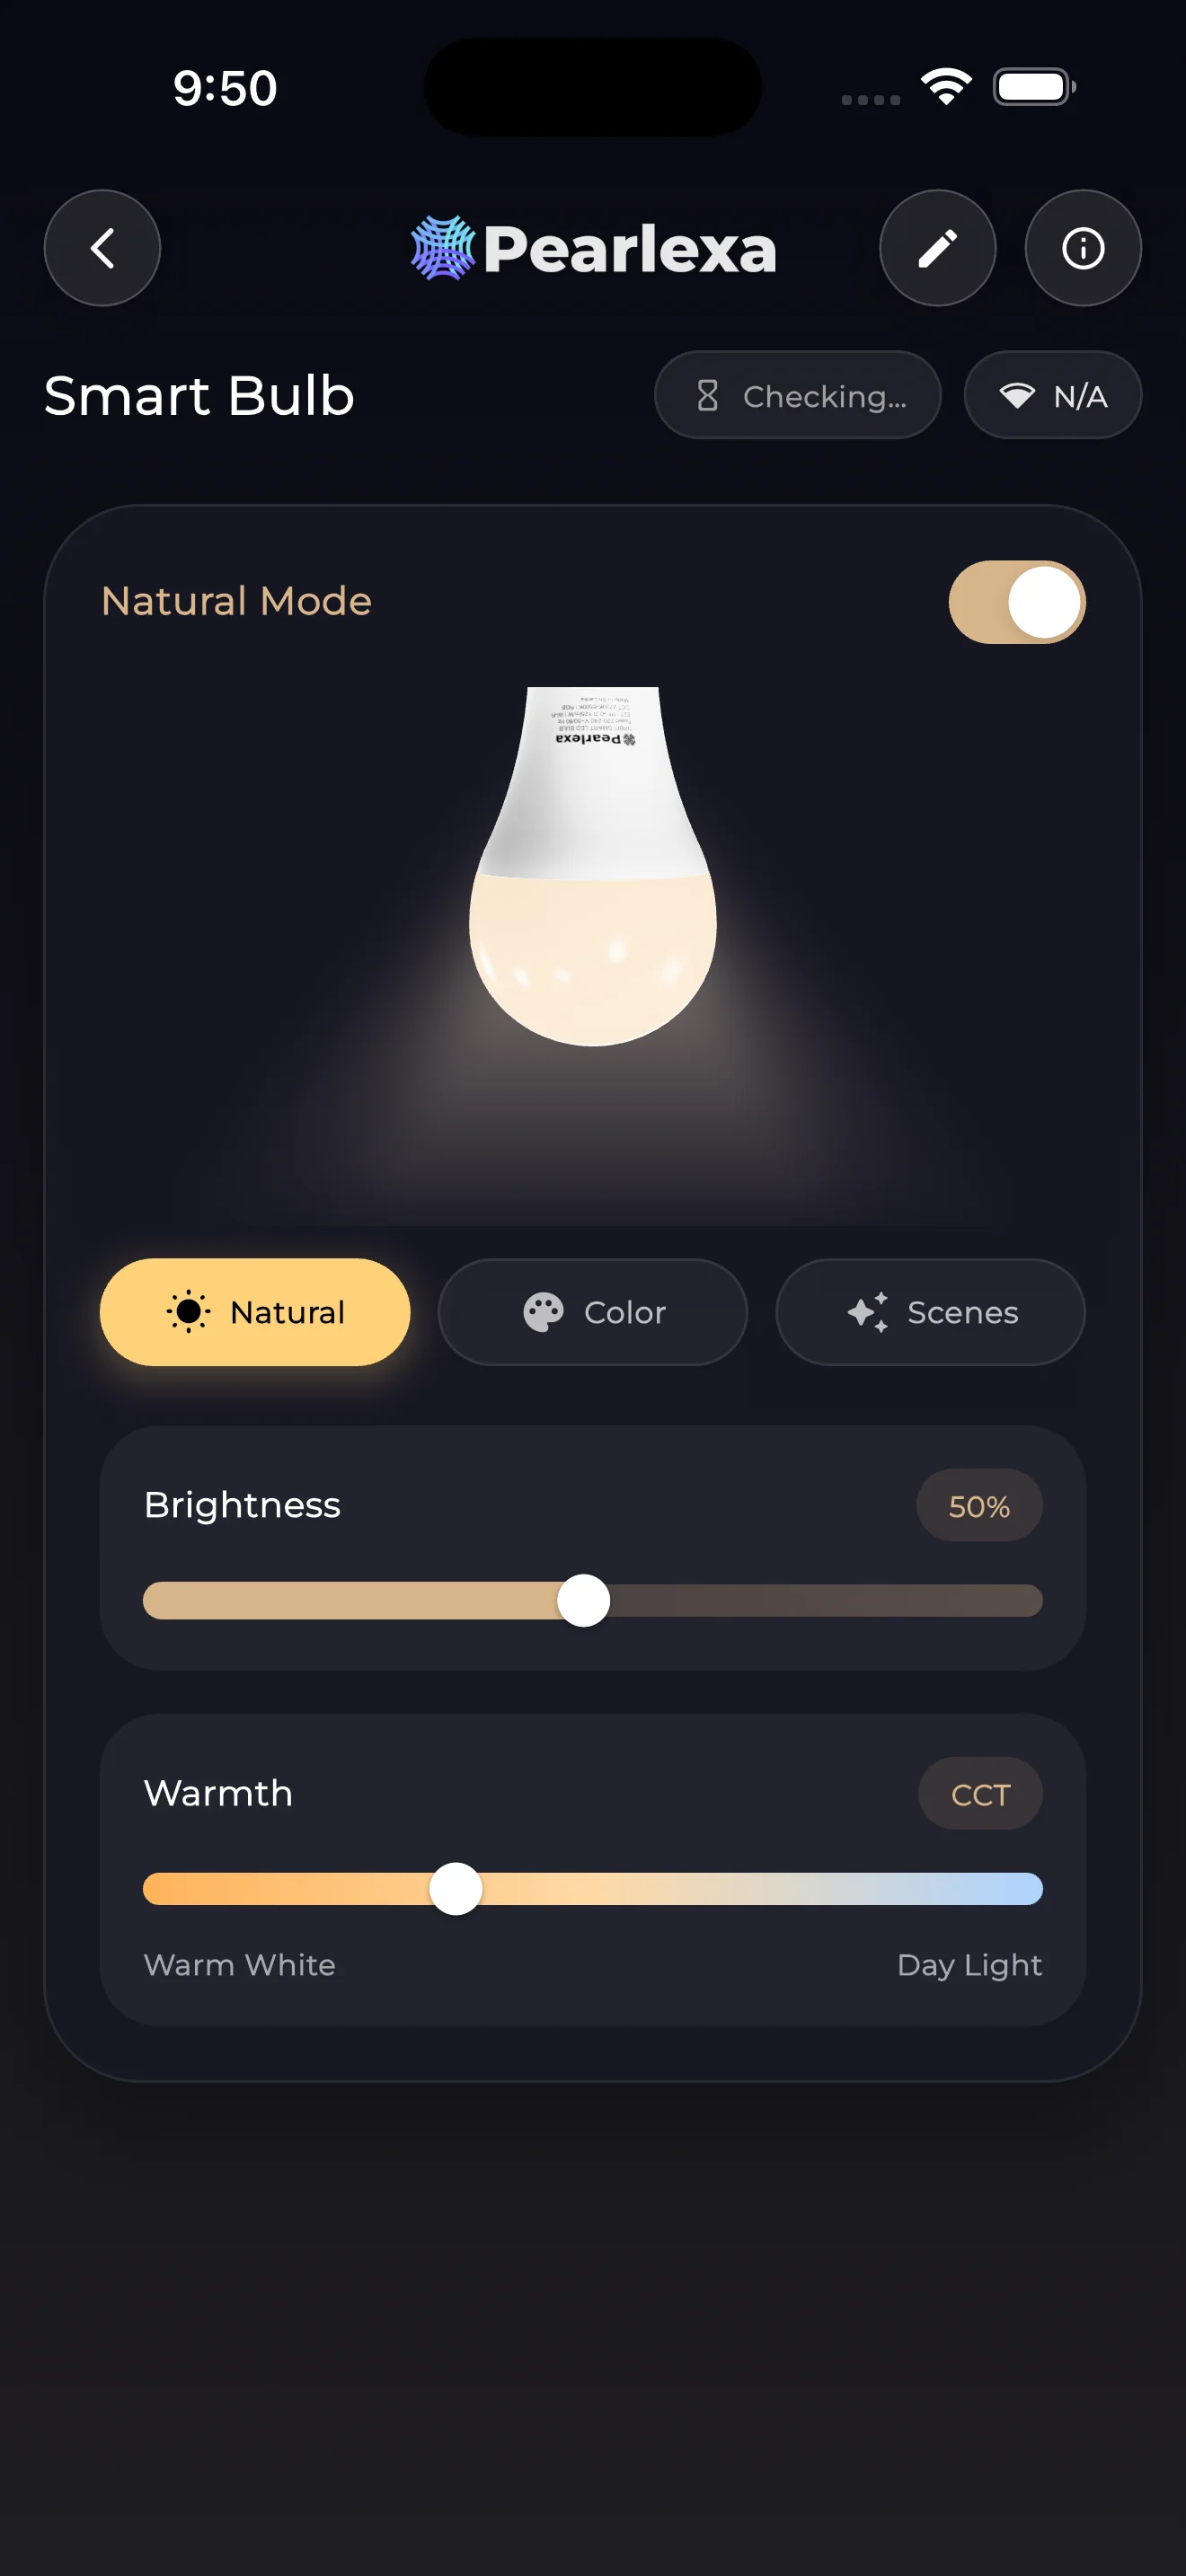
Once setup completes, give the bulb a useful name, place it in the correct room and test on/off, dimming and white-light control before creating schedules or groups.
Before you start
- Confirm the fitting and supply match the Orbit model's published ratings.
- Have your Pearlexa account credentials available.
- Know the Wi-Fi network name and password.
- Keep Bluetooth and Wi-Fi available on the phone during setup if the app requests them.
- Keep the bulb powered continuously while provisioning is in progress.
Why Pearlexa does not publish the provisioning protocol
Customer setup instructions are public, but the underlying authentication exchange, device identity implementation, cryptographic material and proprietary provisioning protocol are not. Those details are part of Pearlexa's security and engineering intellectual property.
This separation is intentional: customers should have clear setup instructions without exposing implementation details that do not help normal use and could weaken product security if handled carelessly.
If setup does not complete
Do not repeatedly power-cycle the bulb without checking the app message first. Most setup problems are easier to solve when you identify whether the failure occurred during device discovery, Wi-Fi connection, internet access or account registration.
- Re-check the Wi-Fi password.
- Make sure the selected network provides 2.4GHz Wi-Fi coverage at the bulb location.
- Temporarily move the bulb closer to the router for testing if signal quality is uncertain.
- Disable unusual client isolation or captive-portal requirements for the IoT network if they prevent normal internet access.
- Use Pearlexa Care if the app displays a persistent support error code.
Pearlexa Care
Warranty, product support and direct assistance for Pearlexa products.
Open Pearlexa CarePearlexa Insights
Educational articles about lighting, smart-home technology and product selection.
Browse InsightsSecurity note: Pearlexa will not ask you to publish or send account passwords, Wi-Fi passwords, OTP codes, private keys or API secrets in ordinary support messages. Customer guides intentionally omit confidential provisioning and security implementation details.